Machinery tool is a tool for cutting machining, known as the cutting tool. In the process of mechanical manufacturing, missing, damaged, worn tools or wrong tool selection may cause the machine to stop or cause costly workpieces to be scrapped. Since many processing procedures are based on the normal working of the tool, it is necessary to check the processing state of the tool to ensure the normal operation of the machine.
There are various inspection methods for existing tools, including direct measurement and indirect measurement. However, the use of a dual-station vision system for measurement can achieve precise measurement and effectively improve the inspection efficiency.
Tool Detection Requirement
——
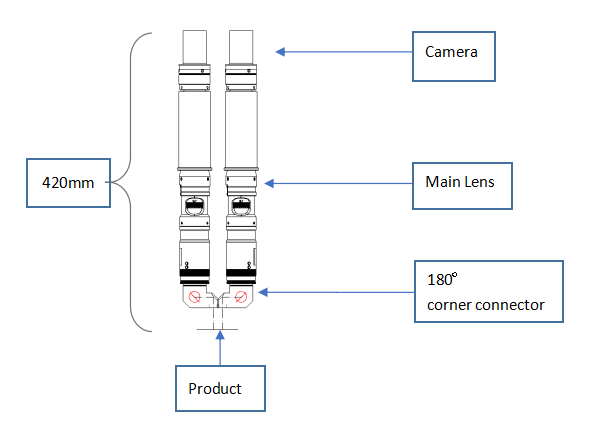
● Detect tool on double station simultaneously. The small magnification of station 1 locates the laser cross target on the tool holder, and the large magnification of station 2 detects the effect of the cutting edge of the tool.
● The vision center distance between the double-station is within 20mm.
Project Challenge
——
● Since the Z-axis of the customer’s equipment does not have a fine-tuning structure, it is difficult to debug after the conventional lens is installed.
● The maximum outer diameter of the lens is 44mm, and the center distance between the two lenses can not reach the requirement on less than 20mm.
Solution Case
——
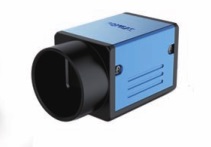
● For the camera, we use 130W color CMOS high definition camera.
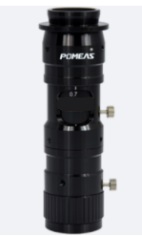
● For the lens, we use 12.5X fine-tuning continuous zoom lens.
● For the light source, we use high brightness white ring light source.
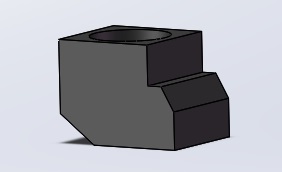
● For the accessories, we use a 180 degree corner connector
Case Demonstration
——
Core components Introduction
——
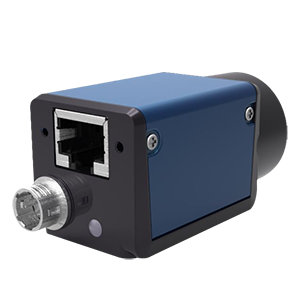
1) POMEAS 130W Color CCD HD camera: PMS-GE130D-C
The new generation of gigabit network camera has low power consumption, low noise, and high stability. It can truly restore the image in various scenes and color temperatures, keeping it clear and sharp. Supports multiple modes such as software and hardware triggering, free running, and ISP functions such as sharpness, noise reduction, gamma correction, brightness, and contrast.
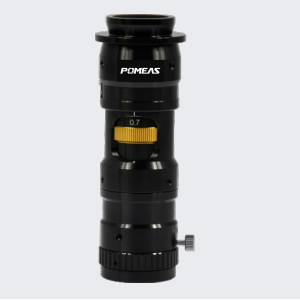
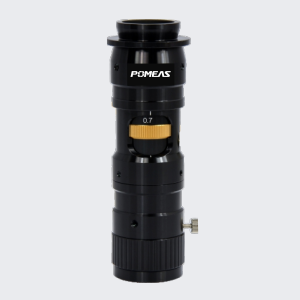
2) POMEAS 12.5X fine-tuning continuous zoom lens: PMS-Z125C-H3, PMS-Z125C-H12(fine-tuning)
In order to meet the precise measurement of the size and the rapid positioning of the target, POMEAS 12.5X fine-tuning continuous zoom lens is used.
● The large zoom range is from 0.58X to 7.5X, which can meet the large magnification required when detecting the knife edge and the small magnification for positioning the laser target of the tool holder.
● High-precision repeat positioning.
● With high stability, it can maintain the stability of accuracy in a vibration environment.
● The machine vision lens can be fine-tuned. There are two adjustment ranges of 3mm and 12mm, which can help customer to solve the installation and debugging problems under without the Z-axis fine-tuning structure.
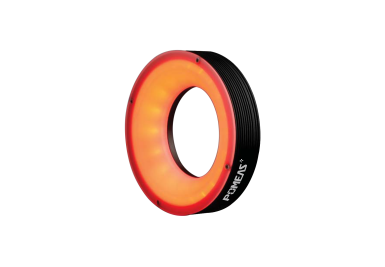
3) POMEAS ring light source
POMEAS has a complete variety of ring light sources with multiple colors and angles. In this case, the high -angle white ring light sources and medium-angle white ring light sources are mostly used, which can clearly illuminate the position. Then the defects such as edge breakage will form an obvious contrast with the background, which is convenient for software identification.

4) 180 degree corner connector
Through two refractions by the POMEAS 180-degree corner connector, the image is clearly reflected to the main lens to ensure high-definition picture quality, while also meeting the requirement that the vision center distance between the double-station within 20mm (the shortest can be 10mm), which solves the customer’s project problem.
Case Result Showing:
——
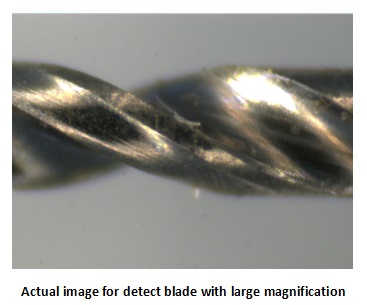
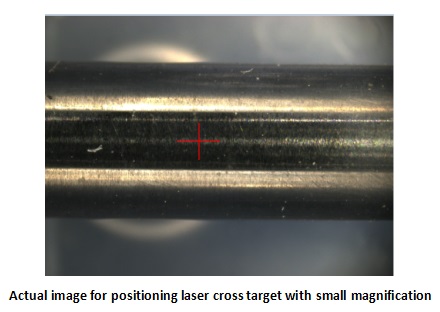
Actual image for detect blade with large magnification Actual image for positioning laser cross target with small magnification
Product recommendation
TECHNICAL SOLUTION
MORE+You may also be interested in the following information
FREE CONSULTING SERVICE
Let’s help you to find the right solution for your project!








 ASK POMEAS
  PRICE INQUIRY
  REQUEST DEMO/TEST
  FREE TRIAL UNIT
  ACCURATE SELECTION
  ADDRESS
 Tel:+ 86-0769-2266 0867
 Fax:+ 86-0769-2266 0867
 E-mail:marketing@pomeas.com
