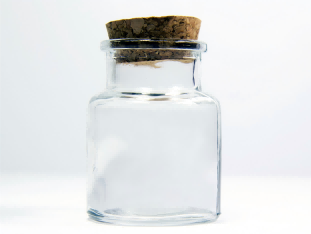
In the process of glass production and quality control, on the one hand, thickness compliance can ensure the mechanical strength, heat resistance and other quality indicators to ensure the safety and longevity of the product; on the other hand, high-precision thickness measurement can help to optimize the production process and reduce the rate of defective products.


Glass Thickness Measurement Requirements
1、High-precision Measurement: There are slight differences in the homogeneity of the glass material itself, and different uses of the glass on the thickness of the stringent requirements for accuracy, such as high-end wine glass thickness tolerance may need to be controlled within ±0.1mm, the thickness of the ordinary cup of water thickness tolerance also try to control in the range of ±0.3mm, so the measurement equipment and methods need to be equipped with a high-resolution, low error, and accurately reflect the thickness of the subtle changes.
2、Non-contact measurement: As a finished product, glass cups, surface scratches, bumps and other damage will directly affect the appearance and sales, internal structure damage may lead to strength damage, sealing deterioration and other issues. Measurement process can not use drilling, grinding and other destructive means of contact with the product, the need for non-contact or non-destructive contact technology to complete the thickness measurement work.
Glass Thickness Measurement Difficulties
1. Material optical properties of complex: glass to light refraction, reflection, absorption and other multiple optical effects, and different glass components (such as soda-lime glass, borosilicate glass, etc.) optical constants are different, the light propagation path is irregular, increasing the difficulty of accurately obtaining the thickness information. For example, when measuring transparent colorless glass, light penetration is easy to reflect multiple times in the cup wall, interfering with the measurement signal reception and analysis, resulting in measurement data deviation.
2. Irregular shape and curved surface: Glasses have a variety of shapes, such as straight type, closed type, and high-footed cups with curvature, etc. The curved part makes the light incident vertically. The curved part makes it difficult for light to be incident vertically, so the traditional method of measuring plane thickness can not be applied. When the thickness of each point is inconsistent, it becomes a tricky task to measure comprehensively and locate the precise measuring point, and it is difficult to control the fit and alignment of the measuring head with the cup wall, which affects the measurement accuracy and stability.
3. Uneven thickness and micro-thickness measurement challenges: part of the glass for the pursuit of lightweight, aesthetics or functional needs, there are local thin-walled design (such as the rim of the cup thinner), the overall thickness of the gradual change of the situation is also common to accurately capture the thickness changes in millimeters or even zero millimeters, the sensitivity of the measurement equipment, the measurement range of the adaptability of the requirements of a very high degree of conventional gauges resolution is difficult to meet the demand.
Glass Thickness Measurement Program


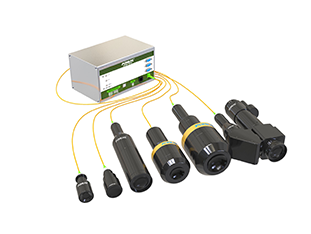
POMEAS Point Spectroscopy solution for glass thickness measurement has the significant advantages of high accuracy (sub-micron accuracy, millimeter thickness measurement within 0.01mm), non-destructive (non-contact optical measurement, no damage to the product), and adaptable (to cope with a wide range of cup shapes and measurement scenarios).
Product recommendation
TECHNICAL SOLUTION
MORE+You may also be interested in the following information
FREE CONSULTING SERVICE
Let’s help you to find the right solution for your project!


 ASK POMEAS
  PRICE INQUIRY
  REQUEST DEMO/TEST
  FREE TRIAL UNIT
  ACCURATE SELECTION
  ADDRESS
 Tel:+ 86-0769-2266 0867
 Fax:+ 86-0769-2266 0867
 E-mail:marketing@pomeas.com
