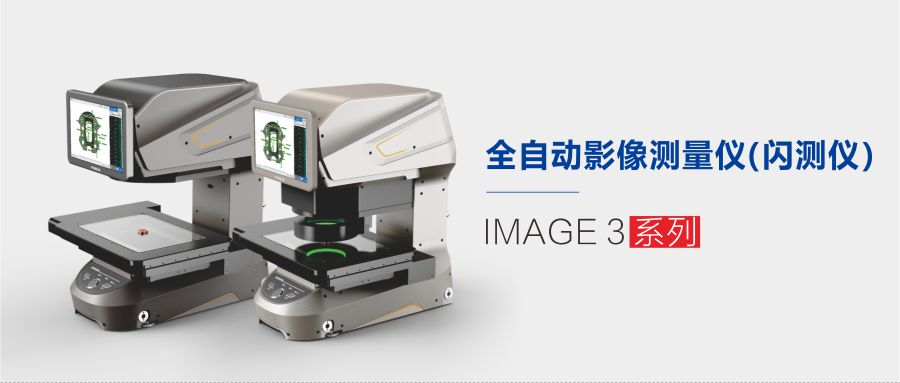
In the production process of motor parts, dimensional inspection is one of the most important aspects of ensuring product quality. General motor parts of the full-size inspection workload, to keep up with the production speed of the factory, we need to be able to improve the measurement efficiency, reduce the error of the precision measuring instruments.
For some of the more precise and complex motor parts, the IMAGE3 series of fully automated image measuring instruments (flash measuring instruments) provide more options when considering the inspection of the aperture and distance of the object to be measured, and other parameters.


Fully automatic image measuring instrument (flash measuring instrument) is an advanced precision dimensional measurement system with good adaptability for parts of various complex shapes. It uses advanced image processing and computer-aided technology to accurately measure and analyse the size, shape and surface characteristics of components, providing an important basis for subsequent processes and quality control.
Fully automatic image measuring instrument (flash measuring instrument) is widely used in motor parts size inspection. It can be used to inspect a variety of different shapes and sizes of motor parts, such as bearings, gears, cycloid mechanisms and so on. This instrument is characterised by high precision, high efficiency and high degree of automation, which effectively improves the accuracy and efficiency of dimensional inspection and quality control of components.

A fully automated imaging instrument offers a number of distinct advantages over traditional manual measurement methods.
Firstly, it greatly reduces the need for manual operations and the possibility of human error. the IMAGE3 flash measuring instrument is able to carry out a large number of measurements in a shorter period of time, improving productivity.
Secondly, thanks to advanced image processing and computer-aided technology, the IMAGE3 fully automatic image measuring instrument offers higher measurement accuracy and repeatability, greatly reducing measurement errors.
In addition, IMAGE3 fully automatic image measuring instrument has the advantages of high degree of automation, easy operation and convenient data processing, which can achieve fast, accurate and large-volume dimensional inspection.
Product recommendation
TECHNICAL SOLUTION
MORE+You may also be interested in the following information
FREE CONSULTING SERVICE
Let’s help you to find the right solution for your project!

- APPICATION CASE
- RESOURCE CENTER
- DOWNLOAD CENTER
SOLUTIONS SUPPORT
- ZOOM LENS SELECTION TOOL
- TELECENTRIC LENS SELECTION TOOL
- FA LENS SELECTION TOOL
- ZOOM RATIO TABLE
- CERTIFIED MODEL
SELECTION TOOL
- WHY POMEAS
- FAQ
- PRIVACY POLICY
- TERMS OF USE
- DELIVERY & RETURN POLICY
CUSTOMER CARE
 ADDRESS
Add.:No.68, Chongwei Road, Baizhoubian, East district, Dongguan, China, 523000
CONTACT
 Tel:+ 86-0769-2266 0867
 Fax:+ 86-0769-2266 0867
 E-mail:marketing@pomeas.com

Wechat QR code

 ASK POMEAS
  PRICE INQUIRY
  REQUEST DEMO/TEST
  FREE TRIAL UNIT
  ACCURATE SELECTION