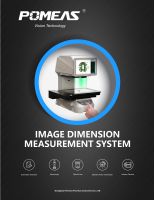
The POMEAS image measuring instrument IMAGE3 series uses a bi-telecentric lens for overall imaging, combines a high-resolution industrial camera with a high-precision image analysis and processing algorithm, and achieves measurement through software calculations. It is a high-precision dimensional measurement system that can achieve rapid measurement of one botton.
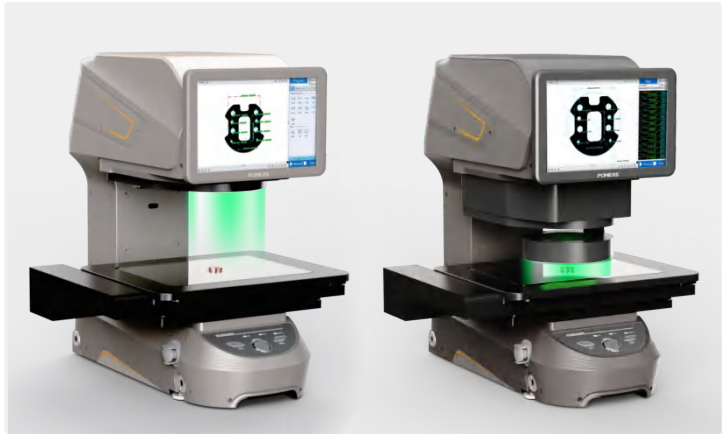
The image measuring instrument has the advantages of automatic detection, efficient measurement, automatic focusing, clear and intuitive data, etc., and has various models to meet the detection needs of different customers.
POMEAS image measuring instruments are available in the following models:
1. IMAGE3: Measuring range φ100, measurement accuracy ±2μm, suitable for dimensional inspection of small precision parts. Such as: watch cover, screws, etc.
2. IMAGE3 plus and IMAGE3 pro: equipped with a mobile platform, larger measurement range, measurement accuracy of ±2+L/150μm and ±3+L/150μm, which can be used for larger workpiece size inspection and simultaneous measurement of multiple products. Such as: PCB puzzle boards, motor parts, mobile phone glass, etc.
3. IMAGE3 MAX: Not only does it have a mobile platform, it is also equipped with a self-developed spectrum sensor. In addition to measuring plane dimensions such as angle, length and width, distance, and diameter, it can also complete 3D dimension detection such as height, flatness, and thickness. Suitable for customers with a variety of testing needs, such as mobile phone mid-frame testing, auto parts testing, etc.
The various models of POMEAS image measuring instruments provide different measurement advantages. The appropriate measuring instrument model can be selected according to specific measurement needs and product features.
Product recommendation
TECHNICAL SOLUTION
MORE+You may also be interested in the following information
FREE CONSULTING SERVICE
Let’s help you to find the right solution for your project!




 ASK POMEAS
  PRICE INQUIRY
  REQUEST DEMO/TEST
  FREE TRIAL UNIT
  ACCURATE SELECTION
  ADDRESS
 Tel:+ 86-0769-2266 0867
 Fax:+ 86-0769-2266 0867
 E-mail:marketing@pomeas.com
